2
loaves2
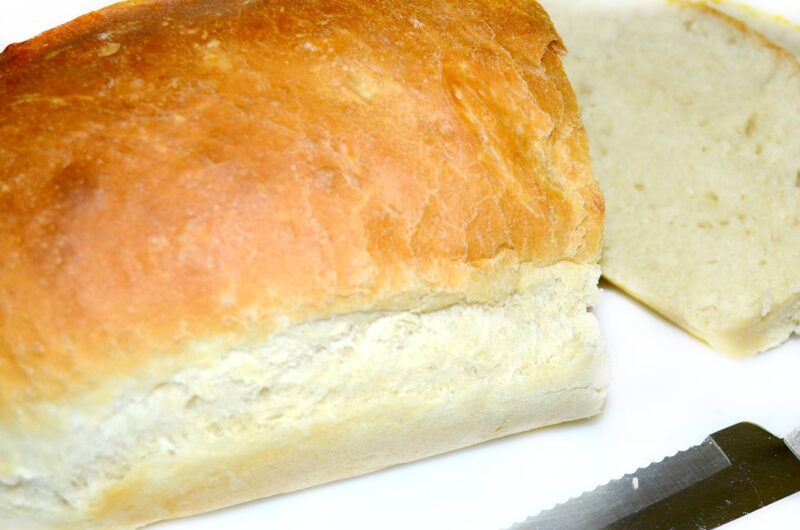
hoursDo you have picky kids like I do? Always asking to cut the crust off their sandwiches or toast? If so, this recipe is where it's at! This Crust-less Sandwich Bread Recipe will keep you from wasting your precious time cutting off crusts.
2 Tbsp. butter
2 c. milk, whey, buttermilk (not cultured, but the buttermilk you get when you make butter) or water.
1 tsp. salt
2 Tbsp. sugar
2 tsp. active dry or instant yeast
4 - 4 1/2 c. all-purpose unbleached flour
Melt together the butter and liquid until the butter is just melted. Make sure you don't overheat. If it is too hot to hold your finger in than it is too hot for the yeast and will kill it.
In a mixer, with the dough hooks on, mix salt, sugar, yeast and 2.5 cups of flour.
Add liquid and butter mixture to flour mixture in your mixer bowl, beat on medium speed for 2 minutes.
Add 1.5 cups of flour to the bowl and knead with your mixer until well combined. You want the dough to pull away from the sides of the bowl, NOT stick to it, and be "soft as a baby's bottom." If it's not there yet, add in flour a couple of tablespoons at a time.
Once it's the right consistency, let the mixer continue to knead for 3 - 5 minutes until the dough reaches the windowpane stage.** What's the windowpane stage? If you pull out a golf ball sized piece of dough and gently flatten it/stretch it like you're making a tiny pizza, hold it up to the light, you should be able to see through it. If it starts to rip and create holes before you can get it thin, it is not ready. Continue to knead for another 1 -2 minutes.
**Thatbreadlady on Instagram has a great video on the window pane stage. Check it out here.
Cover mixing bowl with a tea towel and let rise until doubled, about an hour.
When doubled, dump dough out onto a lightly floured counter top, divide in half (as equally as possible) and shape your loaves.
Get your loaf pans ready - I prefer to line with parchment paper vs. greasing and flouring the pan. I prefer a smaller sized loaf pan for taller loaves, but two 8"x4" pans work well.
To shape your loaves, use your hands to push the dough into a rectangle about as big as your two hands, with fingers spread apart. Then roll it up like a hot dog, tuck in the ends and pop the dough into your prepared loaf pans.
Allow your loaves to rise until doubled in a warm place. I usually put them in the oven with the light on until they have doubled. You could also put your bread pans inside of a plastic bag, such as a turkey roasting bag. Make sure it is inflated with air, tie it off or tuck the opening under a pan so it stays blown up like a balloon. This creates an excellent "proofing chamber" for your bread to rise well.
Letting your bread fully double before baking is the trick to this bread being as light and fluffy as can be. It takes anywhere from 30 - 60 minutes depending on the temperature of your house.
Once doubled, remove pans form oven, if that is where you had them rising, and preheat the oven to 350 degrees F, with the rack in the middle. Do not use convection, the convection setting actually inhibits your bread from springing up well when baked.
When your bread has fully doubled and your over is preheated, slide both pans into the oven and set a timer for 20 minutes. After 20 minutes, turn pans around and bake for another 5 - 10 minutes more. (If your oven runs hot, check after 5 minutes.)
When the bread is finished, take it out of the oven, leave the loaves in the pan and set a timer for 10 minutes. This 10 minute rest helps the sides and bottom of the loaves stay softer.
When your 10 minute timer goes off, take the bread out of the pans.
If you really want to do this right, take a stick of butter and rub it all over the tops of the bread while it's still warm for the ultimate soft top crust.
If you plan to eat the whole loaf in one sitting, you can cut into it while it's still hot. Otherwise, let it sit at least an hour, ideally until room temperature, before you cut into it. The "crumb" of the bread is still setting up and if you cut into it, it releases the steam that's doing this and causes your bread to get a but gummier as it cools.